WordPress wiki – Shop wiki
Main elements

The first place you land is the Dashboard, where you can see Analytics information (more in Site Kit).

From here you’ll probably want to go to the list of Pages, so hover over the page you want to open and click ‘Edit’.
The Page editing screen contains the elements you see on the page and they’re organised in blocks. These block types range from text and headings, through images and videos, buttons, rows and widgets that add extra functionality, like recent posts or a contact form.
Click on the blue Plus (+) sign for a complete list.
Selecting on a block displays the options for that particular type of block and are contextually sensitive, so change depending on what you’ve selected.
The options appear as a bar above the block and also in the right hand sidebar (toggle the cog icon top right for visibility) as either Page or Bock options. Most of these will be intuitive or already configured.
When you’re finished editing you have the option of either previewing what you’ve done, or saving your changes (Update).

Main elements
- Main element – Selects the enclosing column
- Block Type – Shows the block type (Heading in this instance) and options to change type
- Drag Bar – drag the block up and down the order
- Move Up/Down Left-Right – click to move the block order in single increments
- Block Type Options – Relevant options for the block type
- Main option
- More Block Options
- Further options – Either for the Page or the selected Block

Changing a gallery image
- Select the image you wish to change
- Click on ‘Replace’ and either choose ‘Upload’ to add a new image to your Media Library, or open the Media Library itself

- Click on the replacement image and press ‘Select’
- Remember to either preview the page or update it to see the results
Sundry
Most of the time you won’t need the Page options, but it does hold the Featured image in case you want to set that.
Beneath the page content is the Yoast SEO block where you can tweak SEO settings and set the Social Networks information.
Shop wiki
How to add a product
Adding a product is a simple process of duplicating an existing product, as this slideshow demonstrates. Use the arrow buttons to move through the slideshow.
- Log in and go to the Products list in the side menu
- Duplicate a product
- Change the product title
- Edit the Product short description and remove the product image
- Select the ‘Upload files’ tab (if image not already uploaded)
- Find the new product image on your computer (if not already uploaded)
- Remember to add some Alt Text (good for Google) and click Set product image button
- Delete the gallery image and add the new gallery image (back)
- Select the back view image of the new product and click Add to gallery
- Edit the price
- IMPORTANT – edit the permalink
- Same as the title but LOWERCASE and HYPHENATED – click OK
- Publish the product
- Check the product in the shop (online)
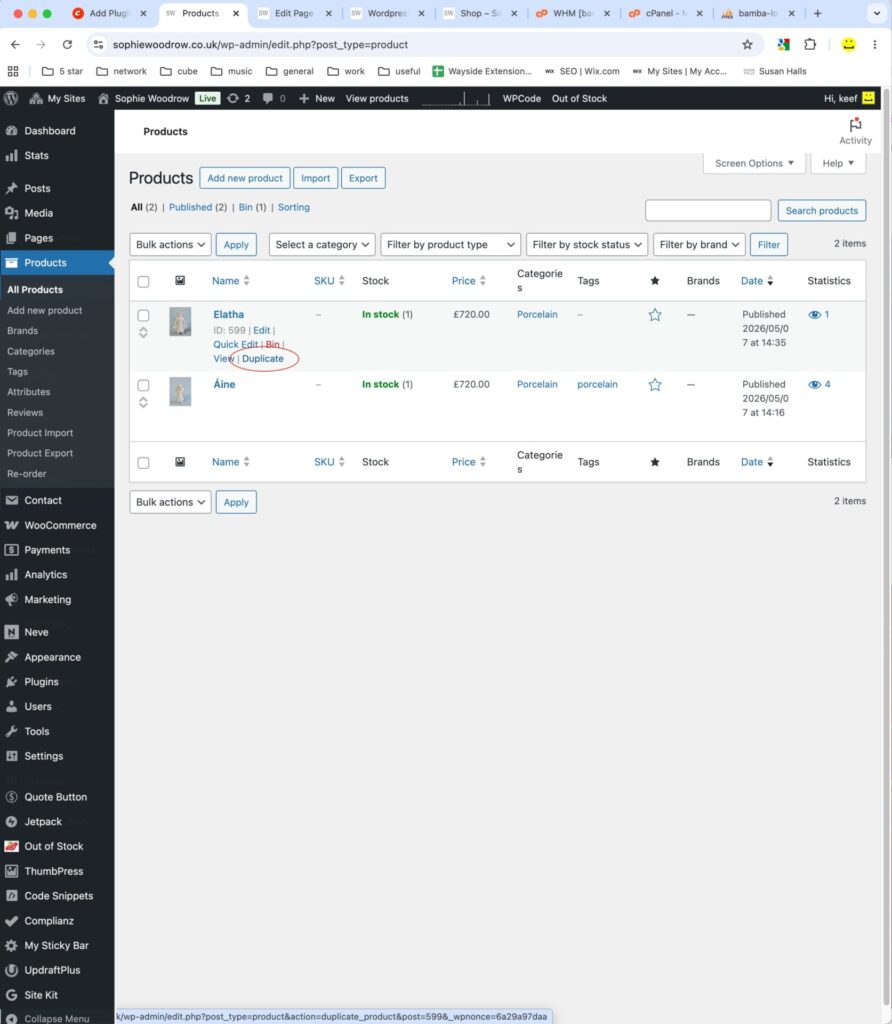
Duplicate an existing product 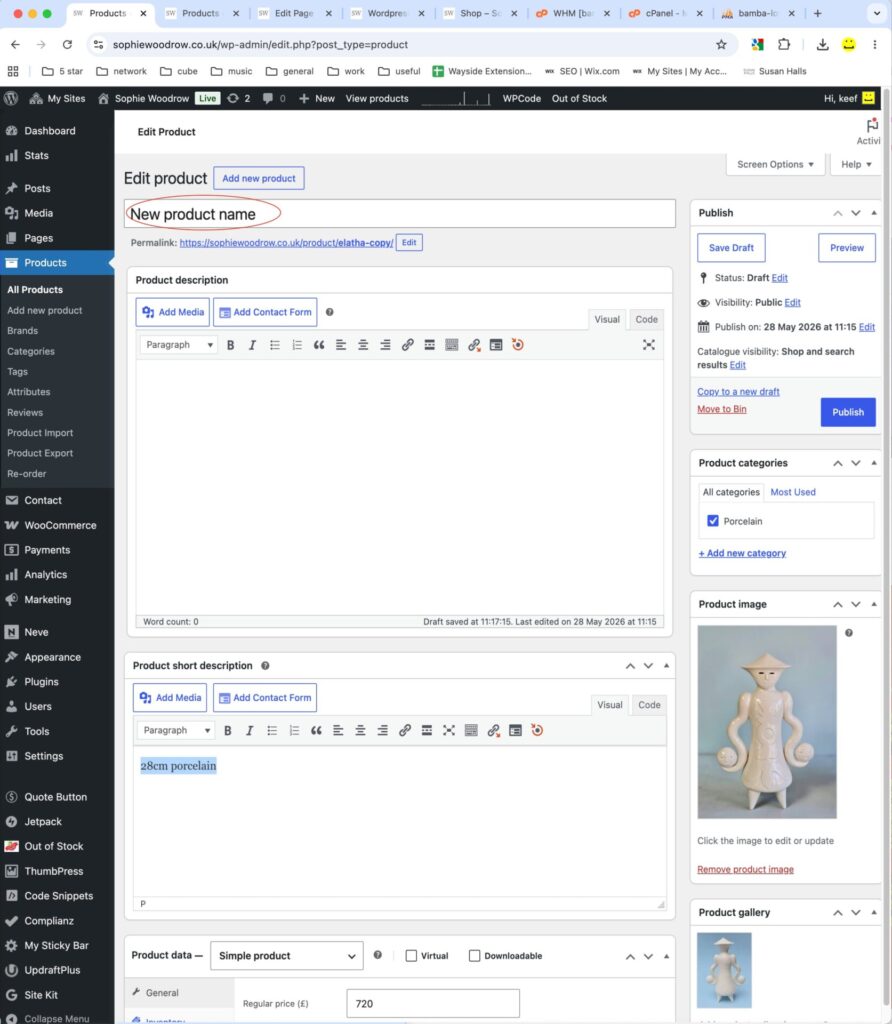
Change the product title 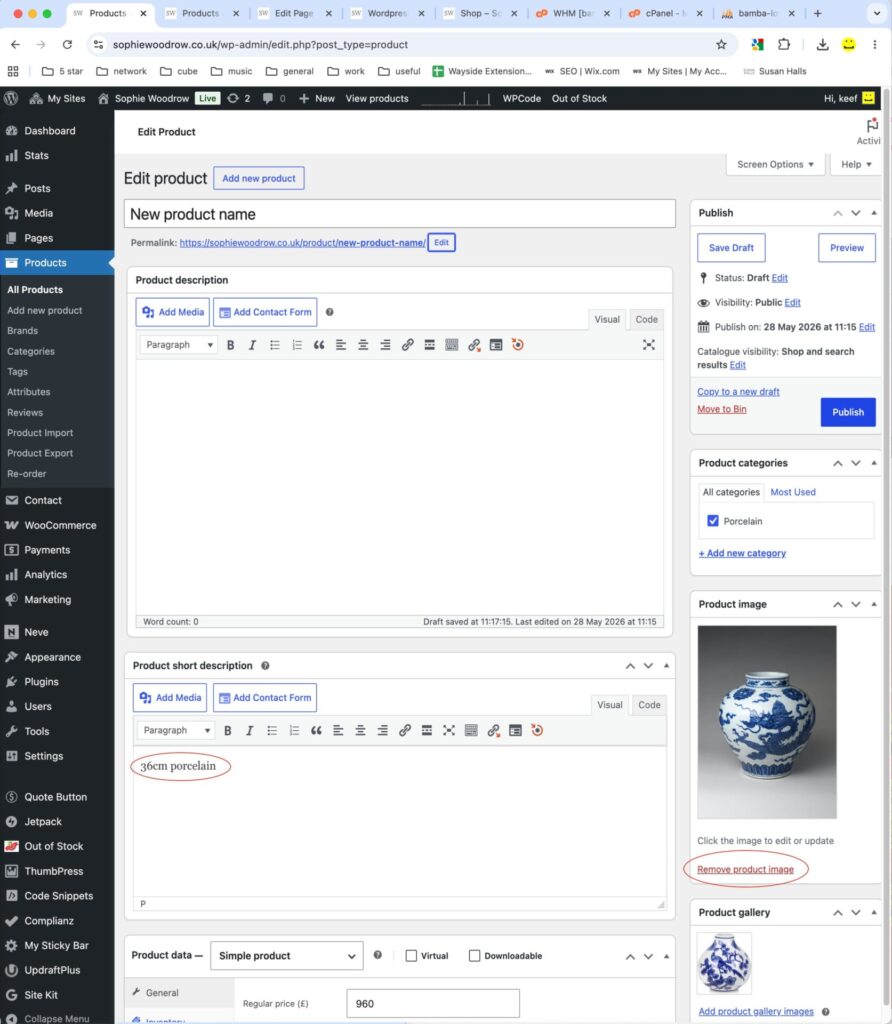
Edit the Product short description and remove the product image 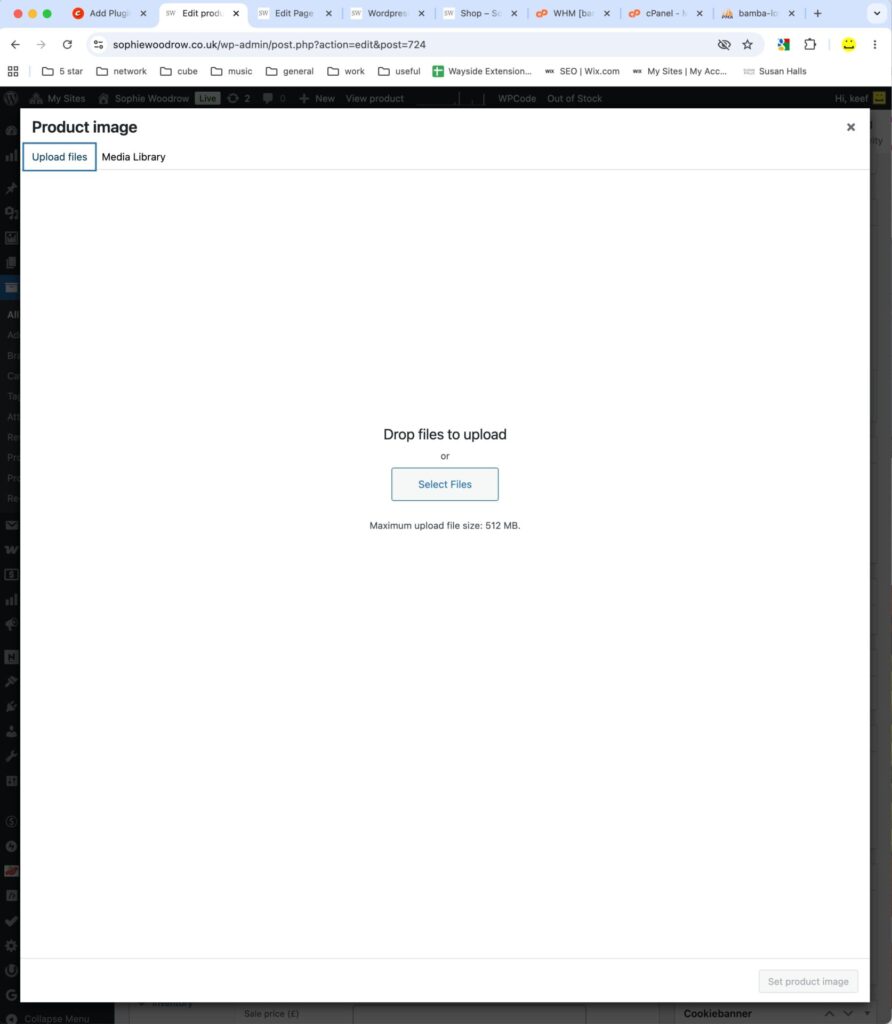
Click on the Upload files tab to upload the new product image 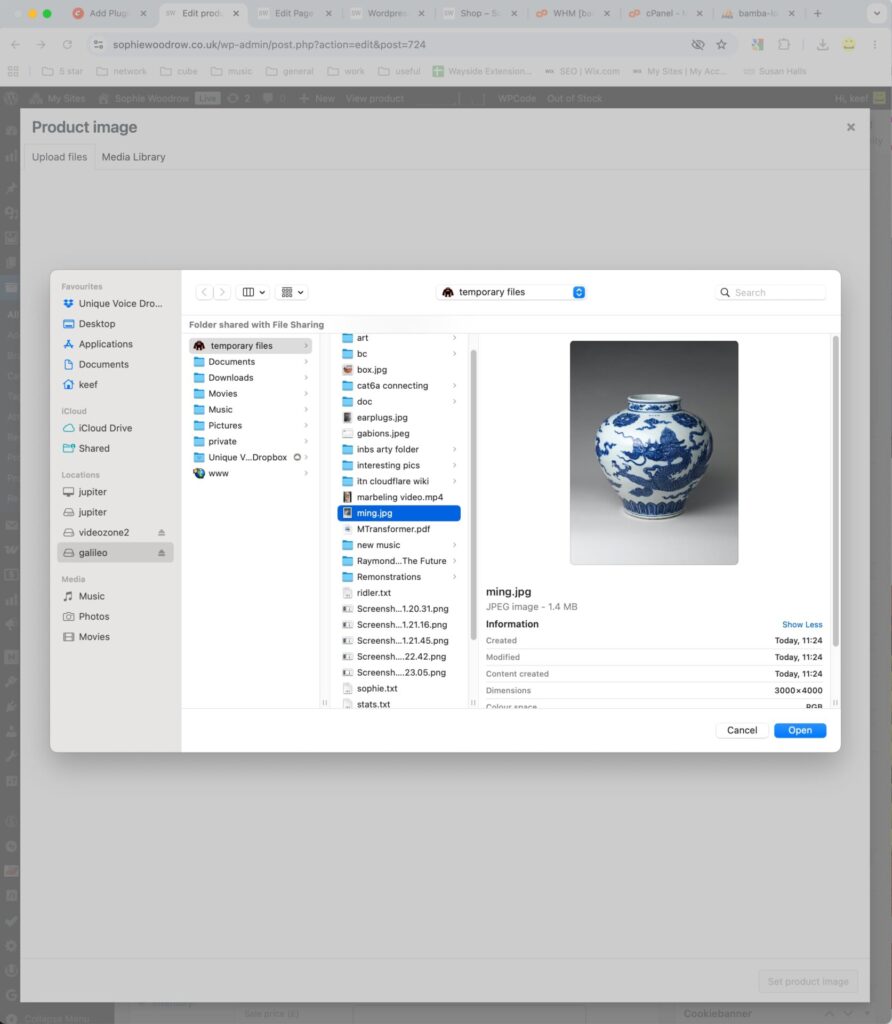
Find the new product image on your computer 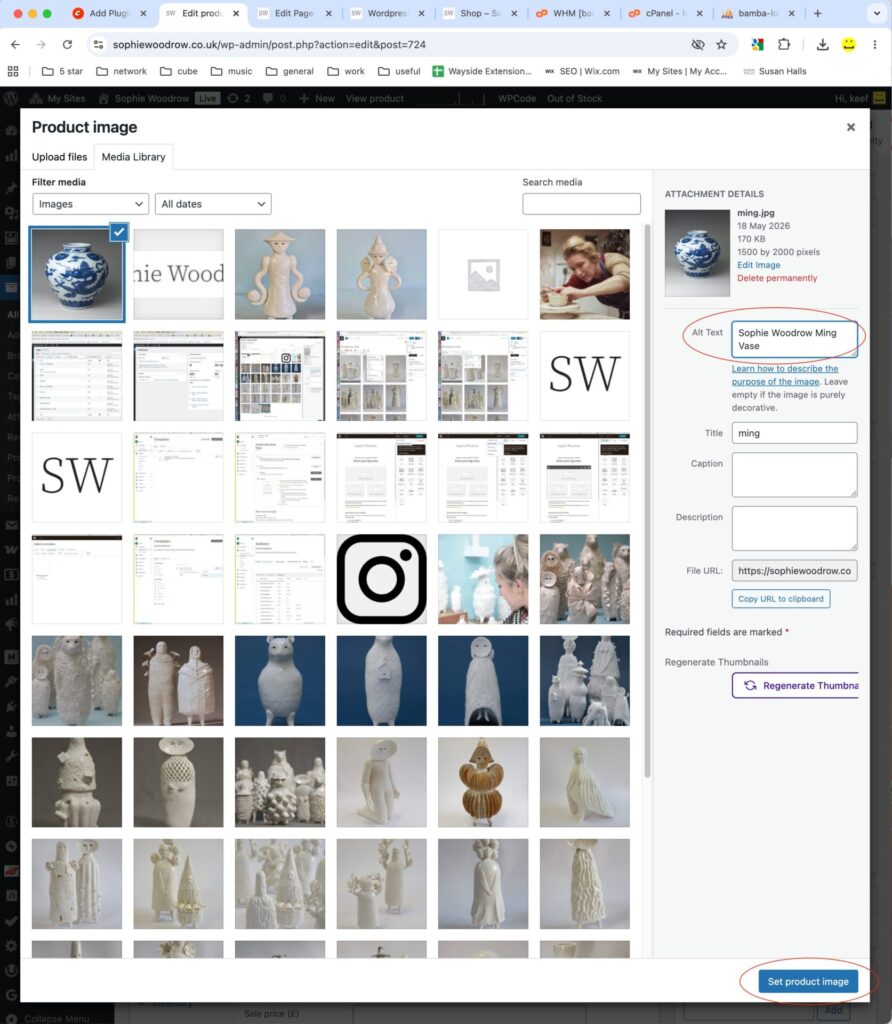
When it has upoaded, remember to add some Alt Text to describe the image (good for Google) 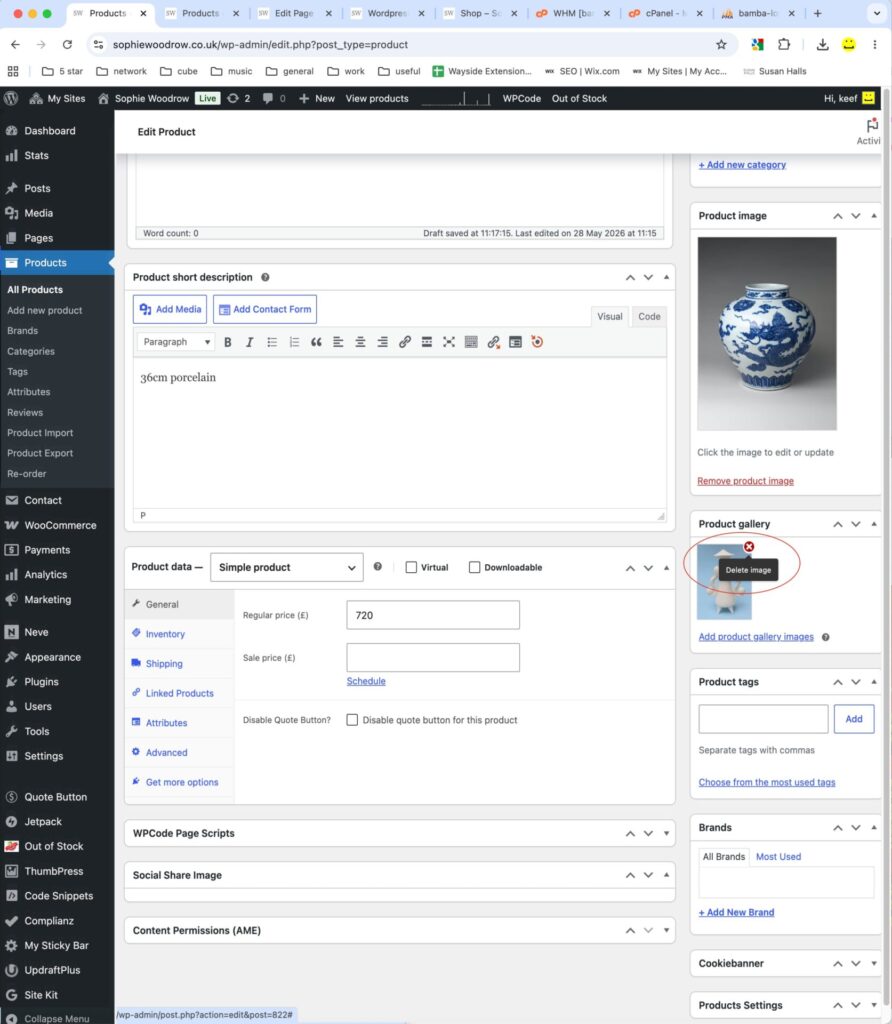
Delete the gallery image and add the new gallery image (back) 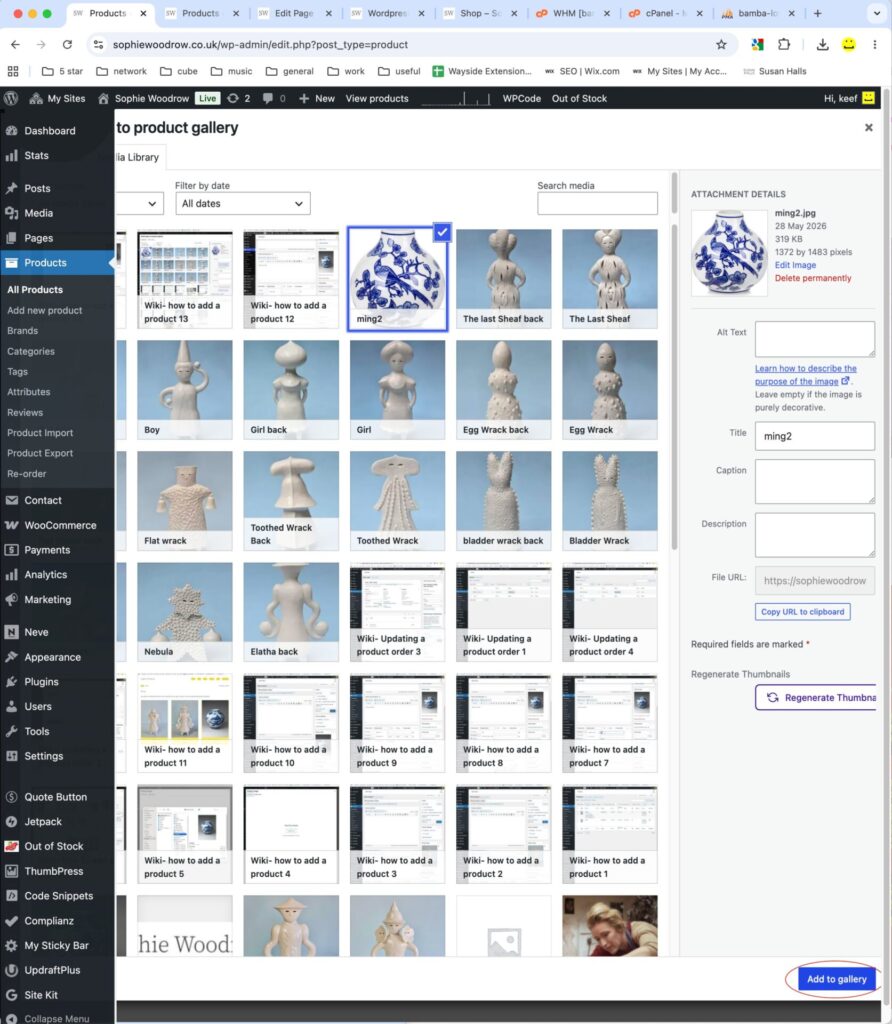
Select the back view image of the new product and click Add to gallery 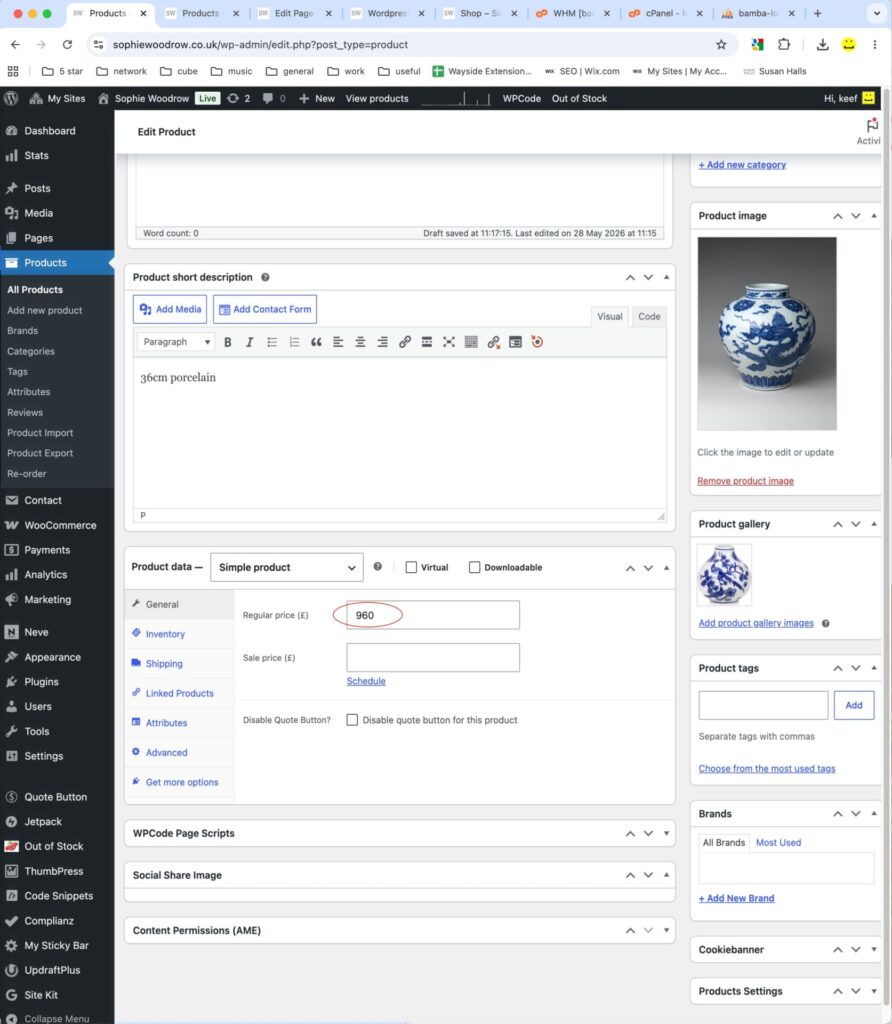
Edit the price 
IMPORTANT – edit the permalink 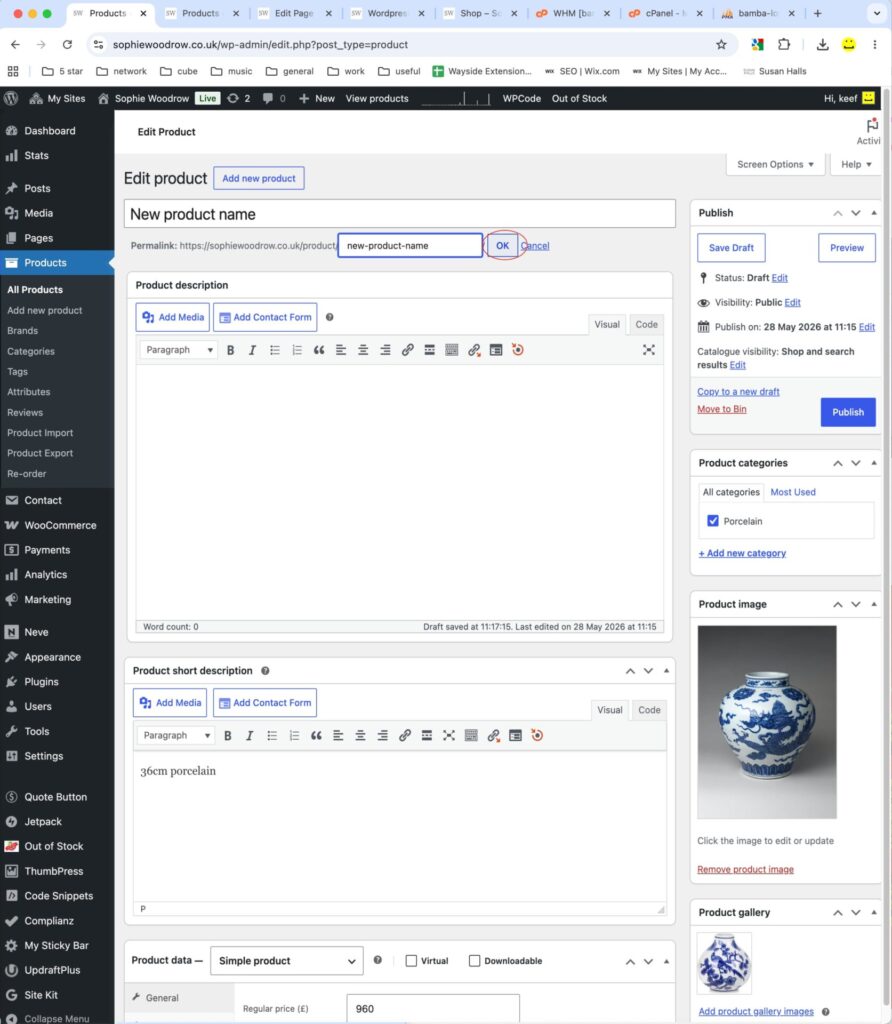
Same as the title but LOWERCASE and HYPHENATED – click OK 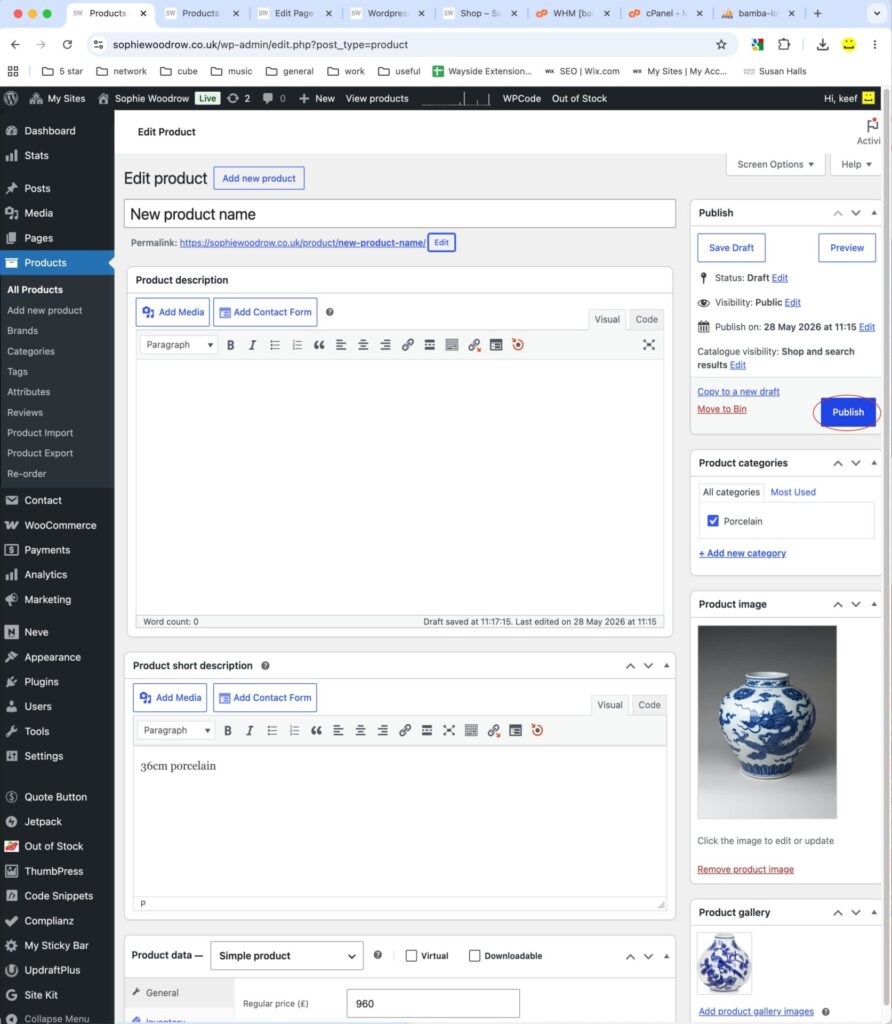
Publish the product 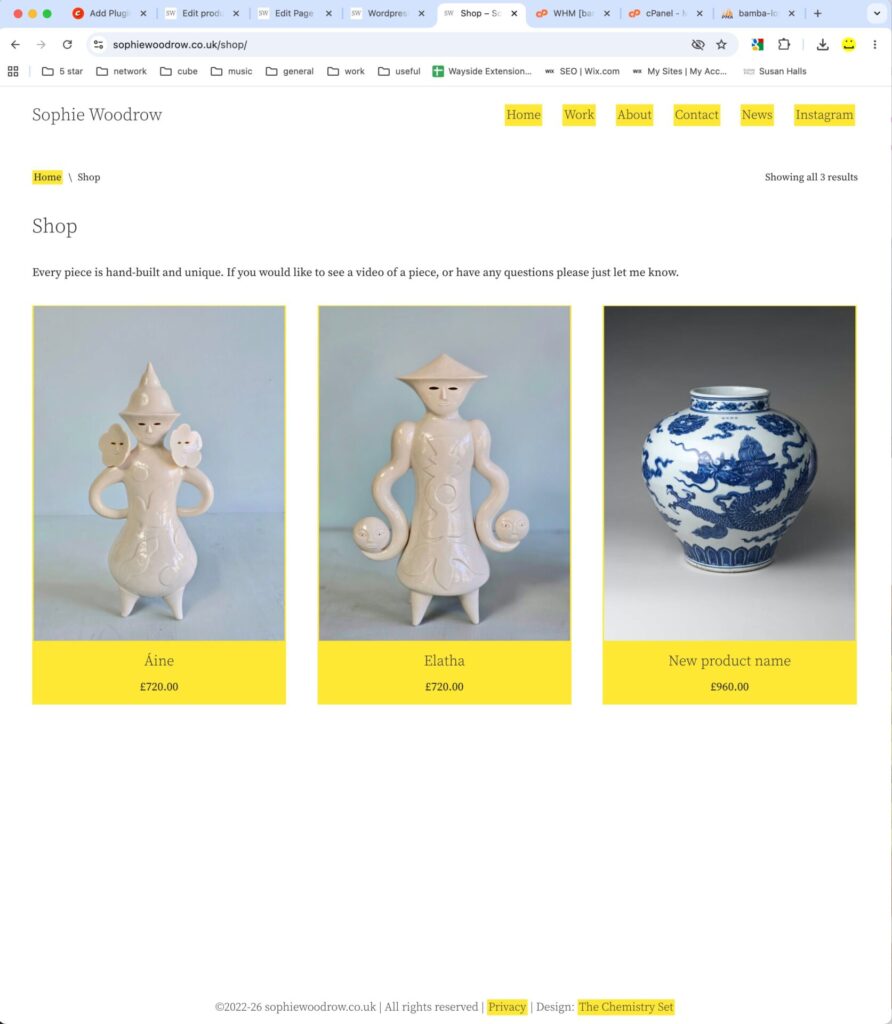
Check that it’s as you want it in the shop, then you’re finished!
Manually updating an order
As your products are one-offs, if you sell one offline you can easily mark it as sold in your shop
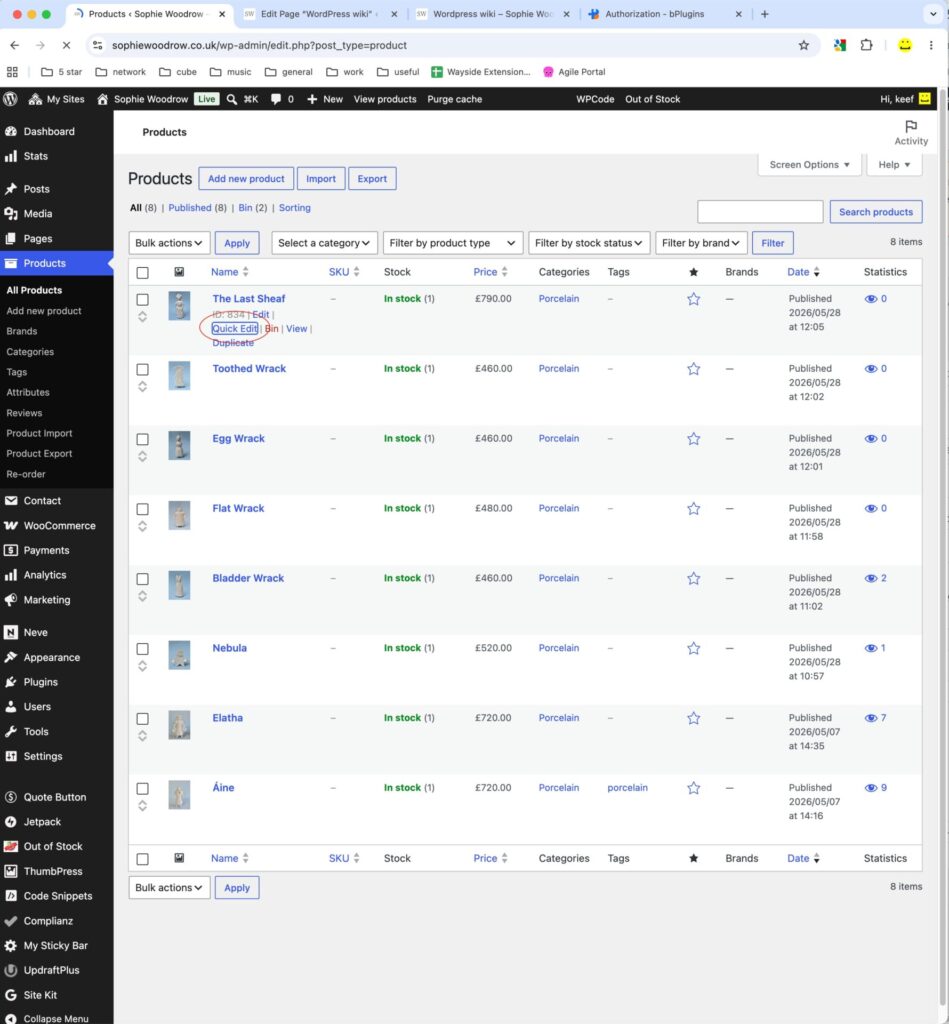
- Log in and go to the Products list in the side menu
- Rollover the sold product and select ‘Quick Edit’
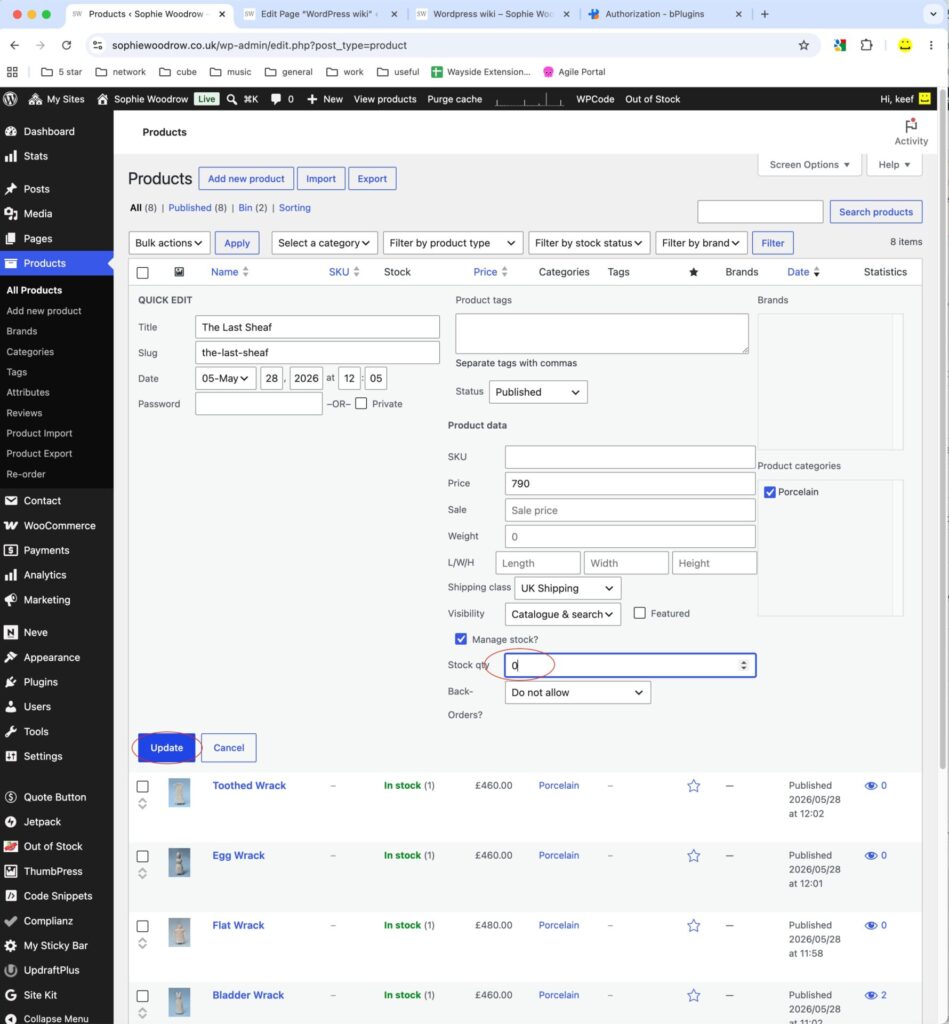
- Change the stock quantity to 0 and update
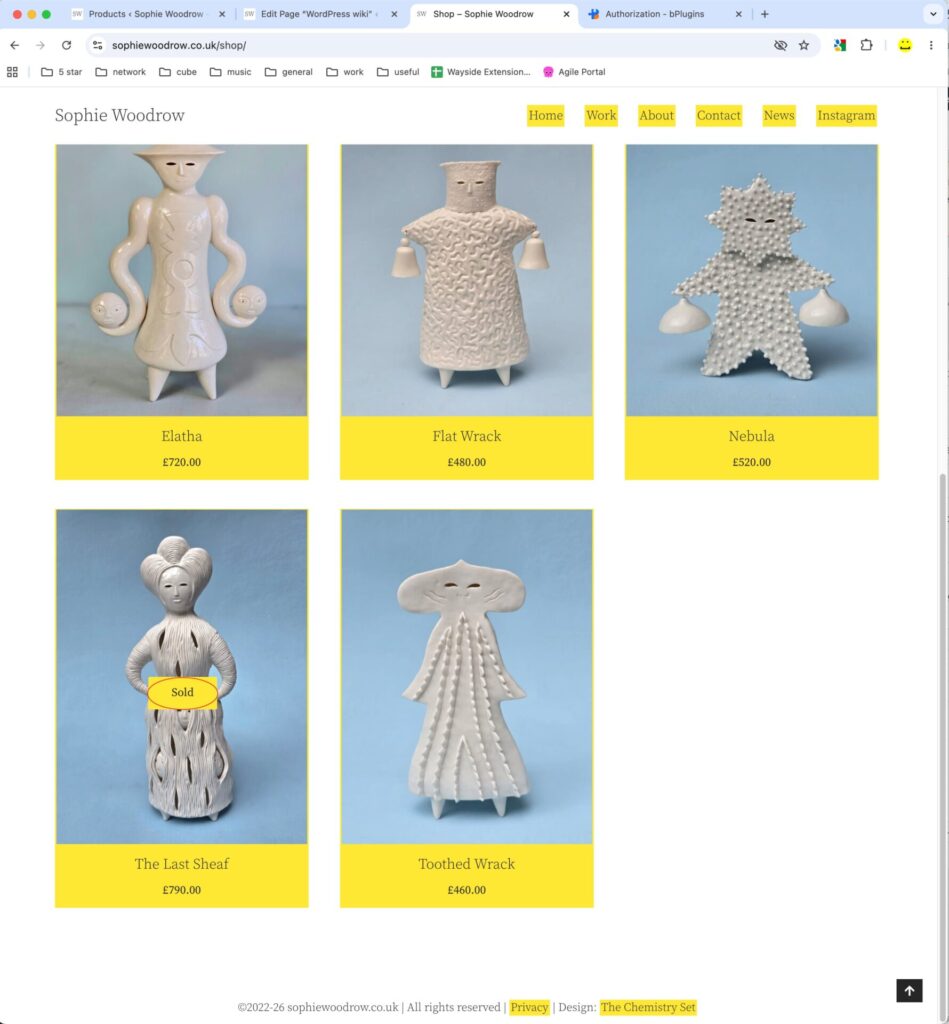
- Check your shop to ensure it’s done
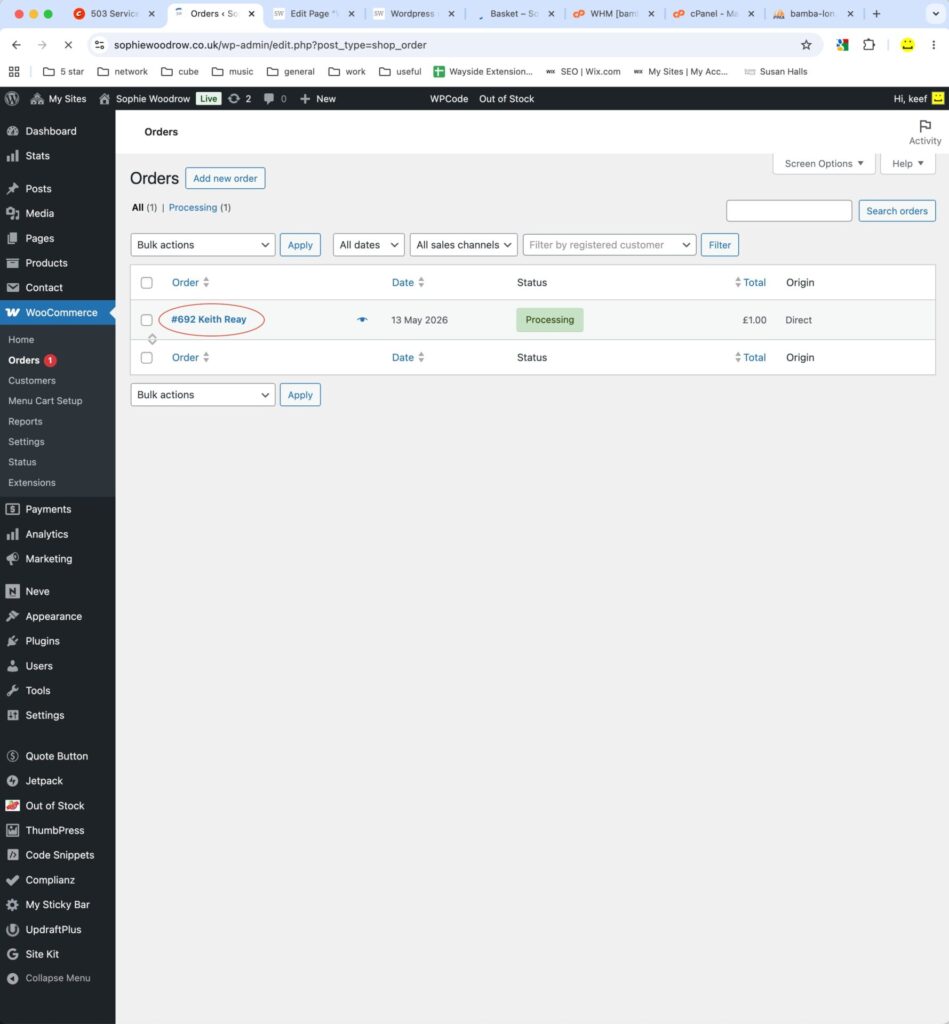
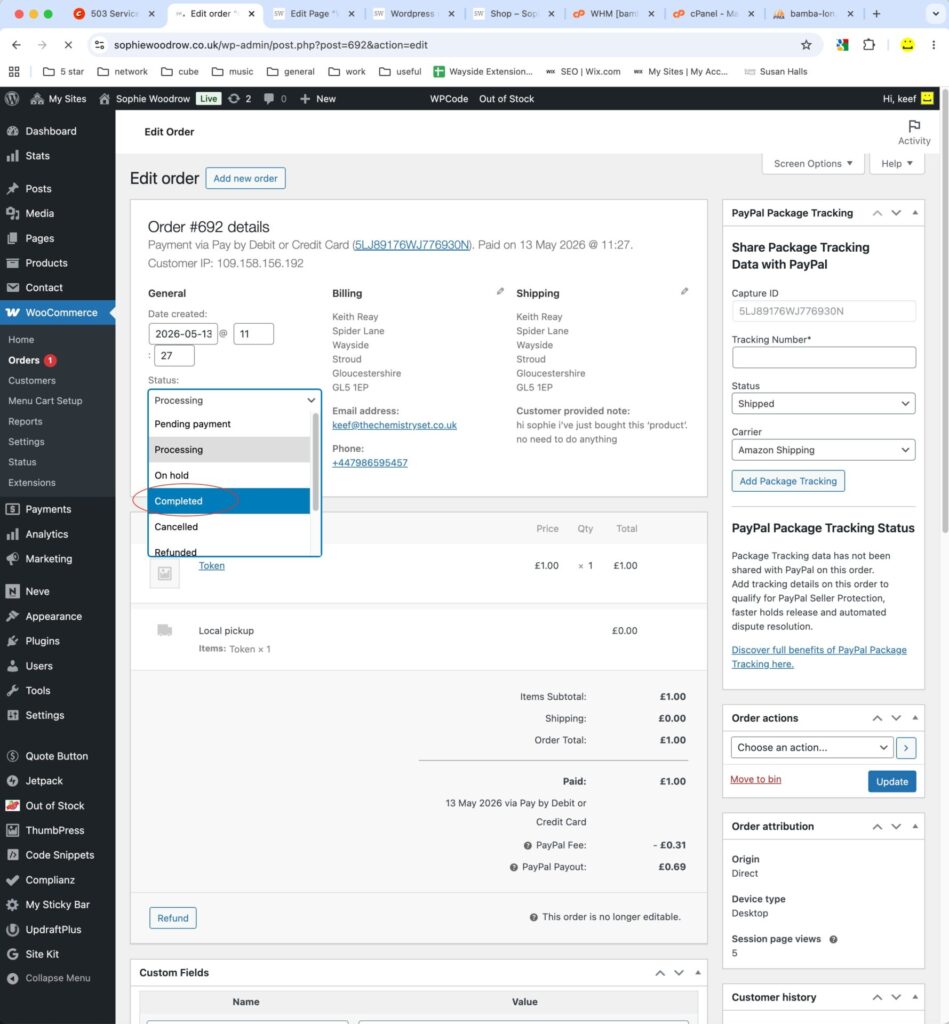
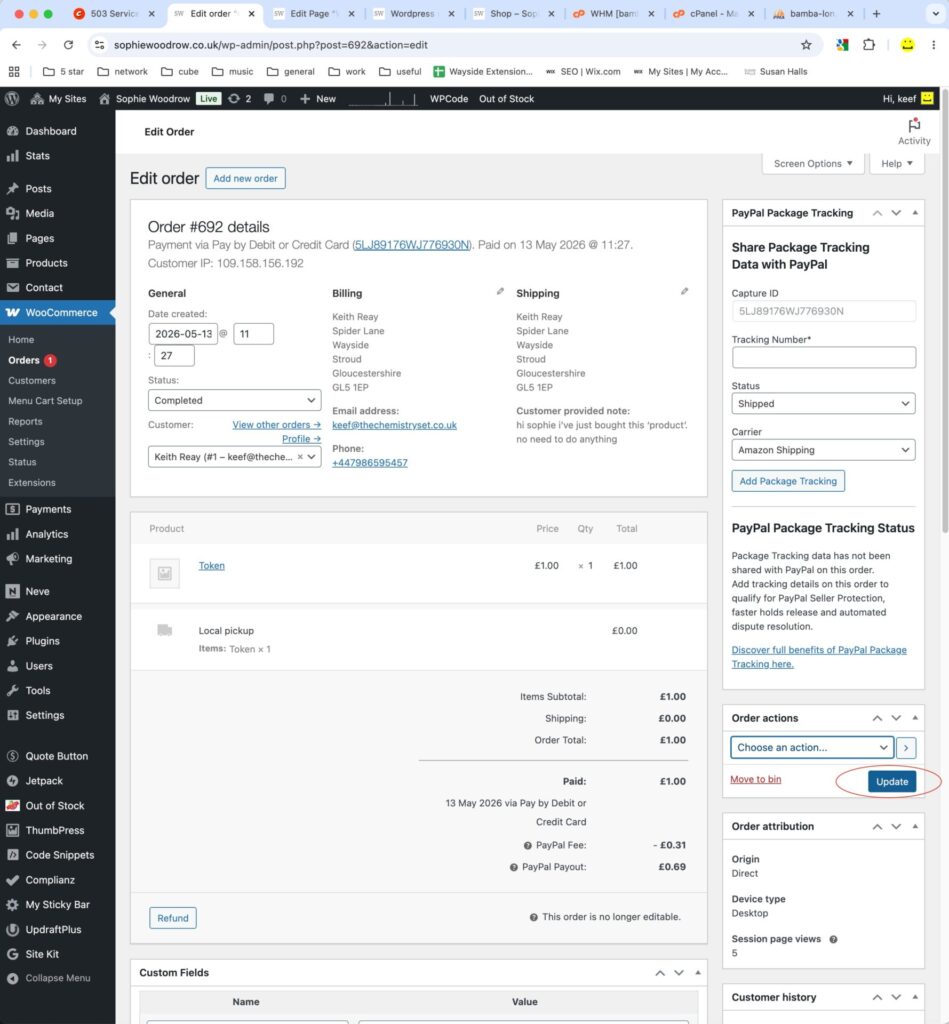
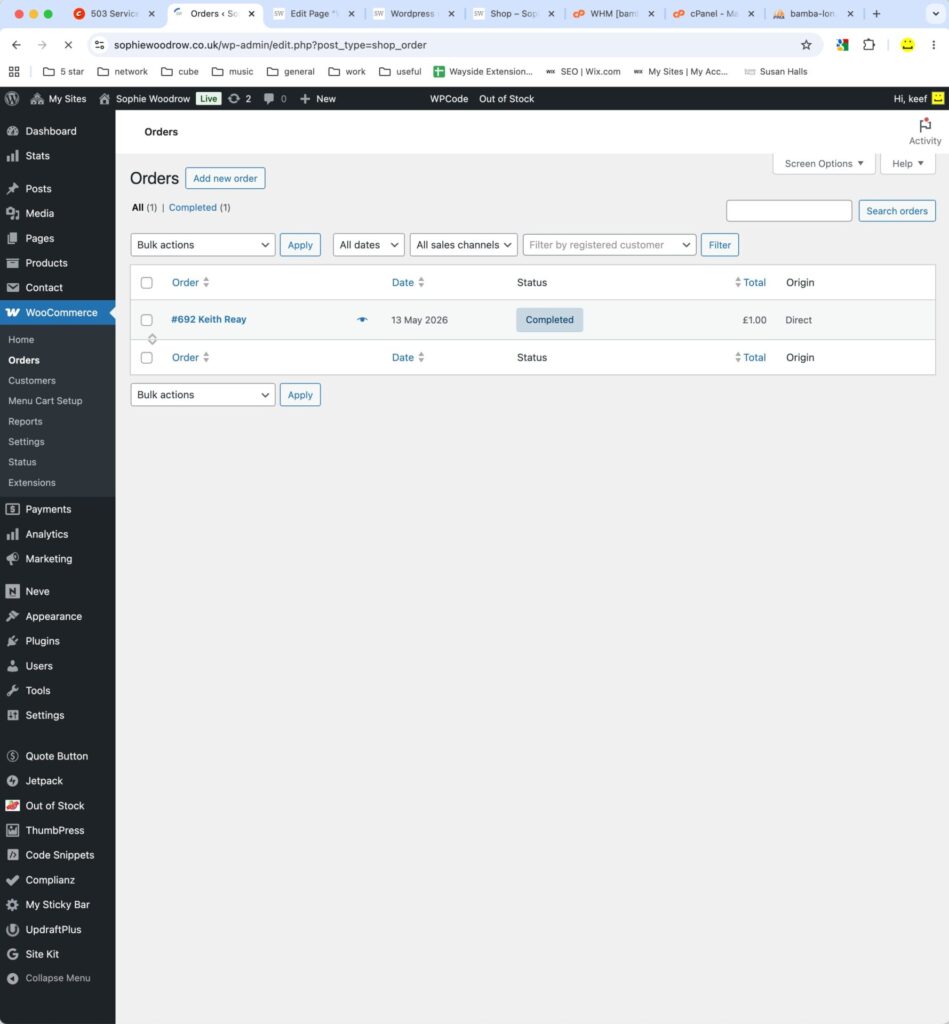
Check and update your orders
If a customer has elected to collect their piece by Local pickup, the order will be shown as ‘Processing’. Once they’ve picked it up you can set the product Status to ‘Completed’ by clicking on it, updating the Status, then updating the order action button.